

We build a lot of custom frame-up builds (718 Shop Builds), and often we are asked to customize even further by painting the frame (paint examples)
I initially was painting frames in my backyard shed, but come to realize that so much of the result depended on the conditions (temperature and humidity). I then was lucky enough to be able to use my next door neighbors sprat booth at the wood shop he runs in Gowanus (Brooklyn Woods).
I am not a painting professional by any means. Here is a process that has served me and my customers well

We are working on building up a custom Surly Cross-Check for a customer. This was the color scheme the customer was shooting for (image from ebay)

Spray.bike “Bomber” and “Fluro Yellow”. Check out our in-stock selection of paints and finishes here
Frame Prep: Day 1
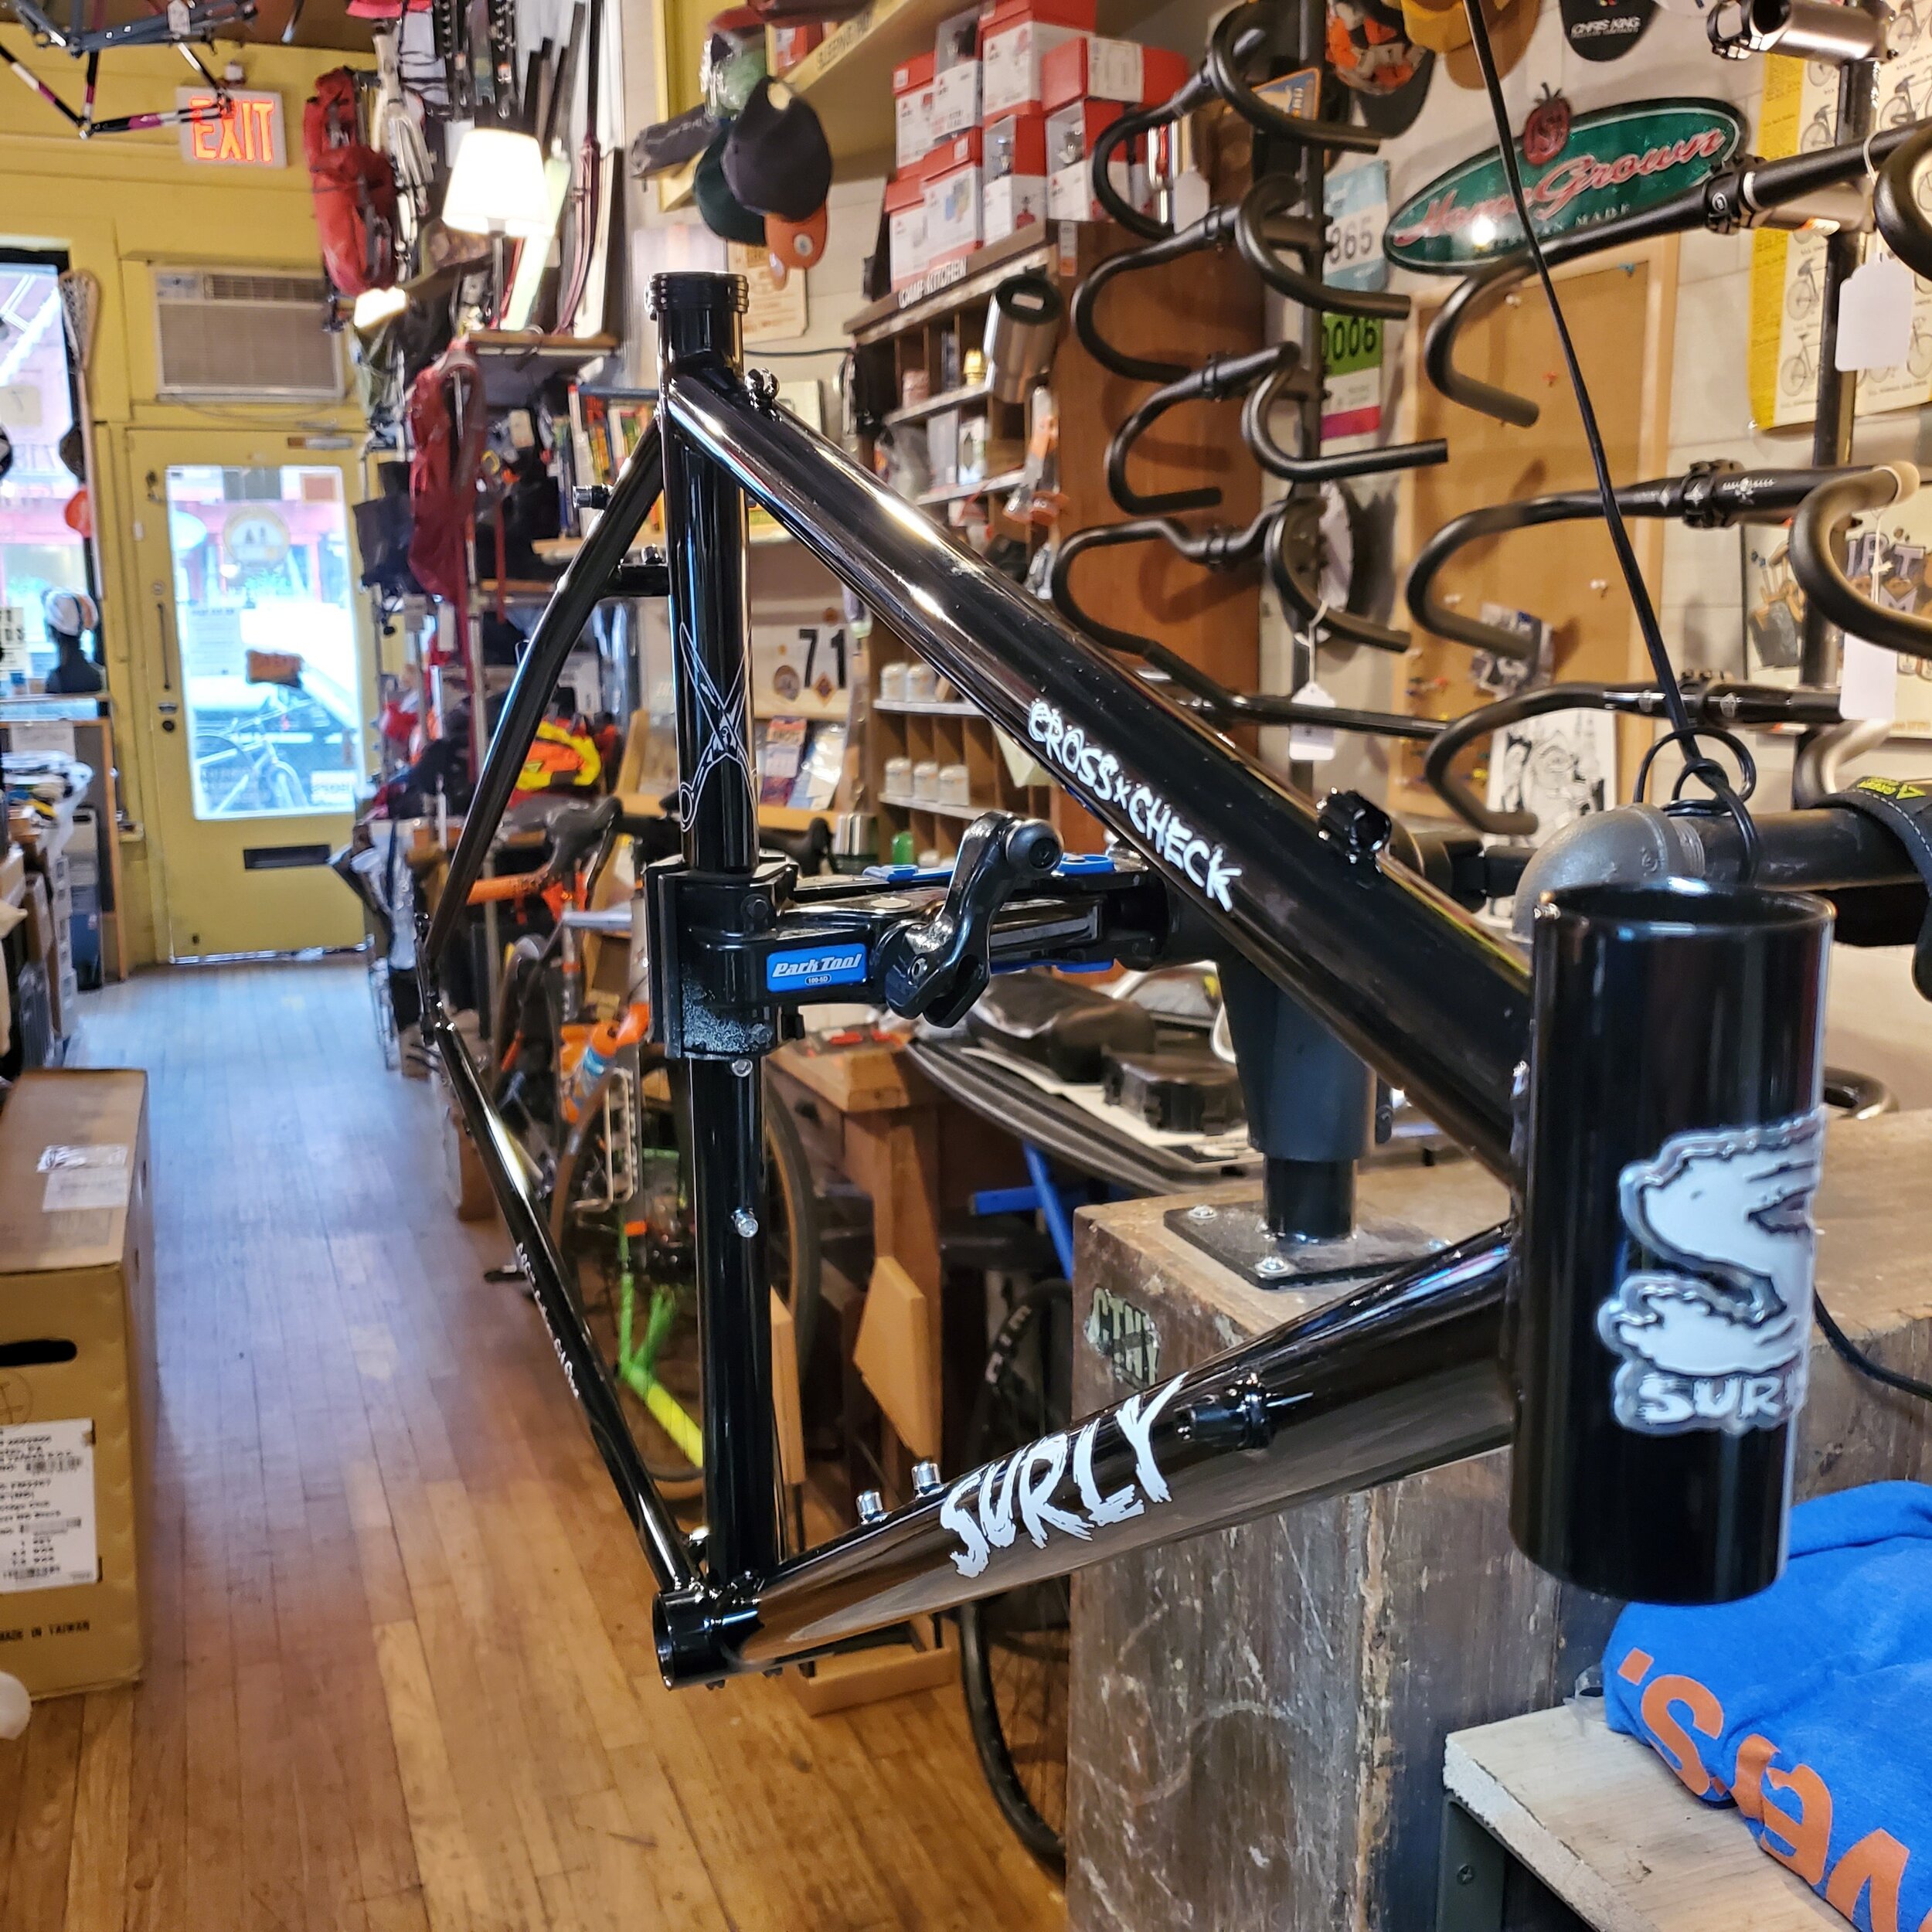
Getting a frame prepped for paint usually takes 2-3 hours…the more time you spend in this stage, the better the results. Stock Surly Cross-Check 50cm in the stand, ready for prep.

The first step is removing all bolts and bottom bracket cable carrier. These go in a customer Build Bin for safekeeping

There are a quite a few techniques out there for decal removal (I’ve tried them all). Luckily, Surly applies their decals on top of the clear coat. I have found a heat gun is the quickest way to remove without marring the surface beneath.

Once decals and stickers are removed, I then use Goof Off (or Goo-Gone) to remove any residue that may be left from decals and stickers. Spray.bike is very clear about not using products with Acetone., I have since switched to Goo-Gone, which uses citrus oil and other “refined” oils.

After frame is clear, I take 320 grit sandpaper and scuff up the entire bike. This roughed up clear coat layer makes for a great base for new paints

After frame is sanded, I then install hardware (bolts, headset cups, bottom bracket, seat post insert) in order to mask threading on the frame. I Install these after frame sanding as sanding the frame with bolts sticking out is not fun.

With bolts, I put them 1/2 way in so that interior threads are masked and protected, while the surface plate of the eyelet can get painted

Sacrificial bottom bracket gets installed…tight, but not shop build tight to make for easy removal later

Once the frame is all masked, it gets a good rub down and cleaning with 99% isopropyl Alcohol, and then is put in a large plastic bag for transport to paint booth a few blocks away. The goal here is to not get my dirty hands on the frame surface.
Paint: Night 1

My paint process is a 2 day affair. I can’t stress enough the importance of following instructions regarding timing, spray distance and temperature/humidity ranges. I did my first few frames in my backyard shed, but then was granted access to my next door neighbors professional spray booth at the wood shop he manages.

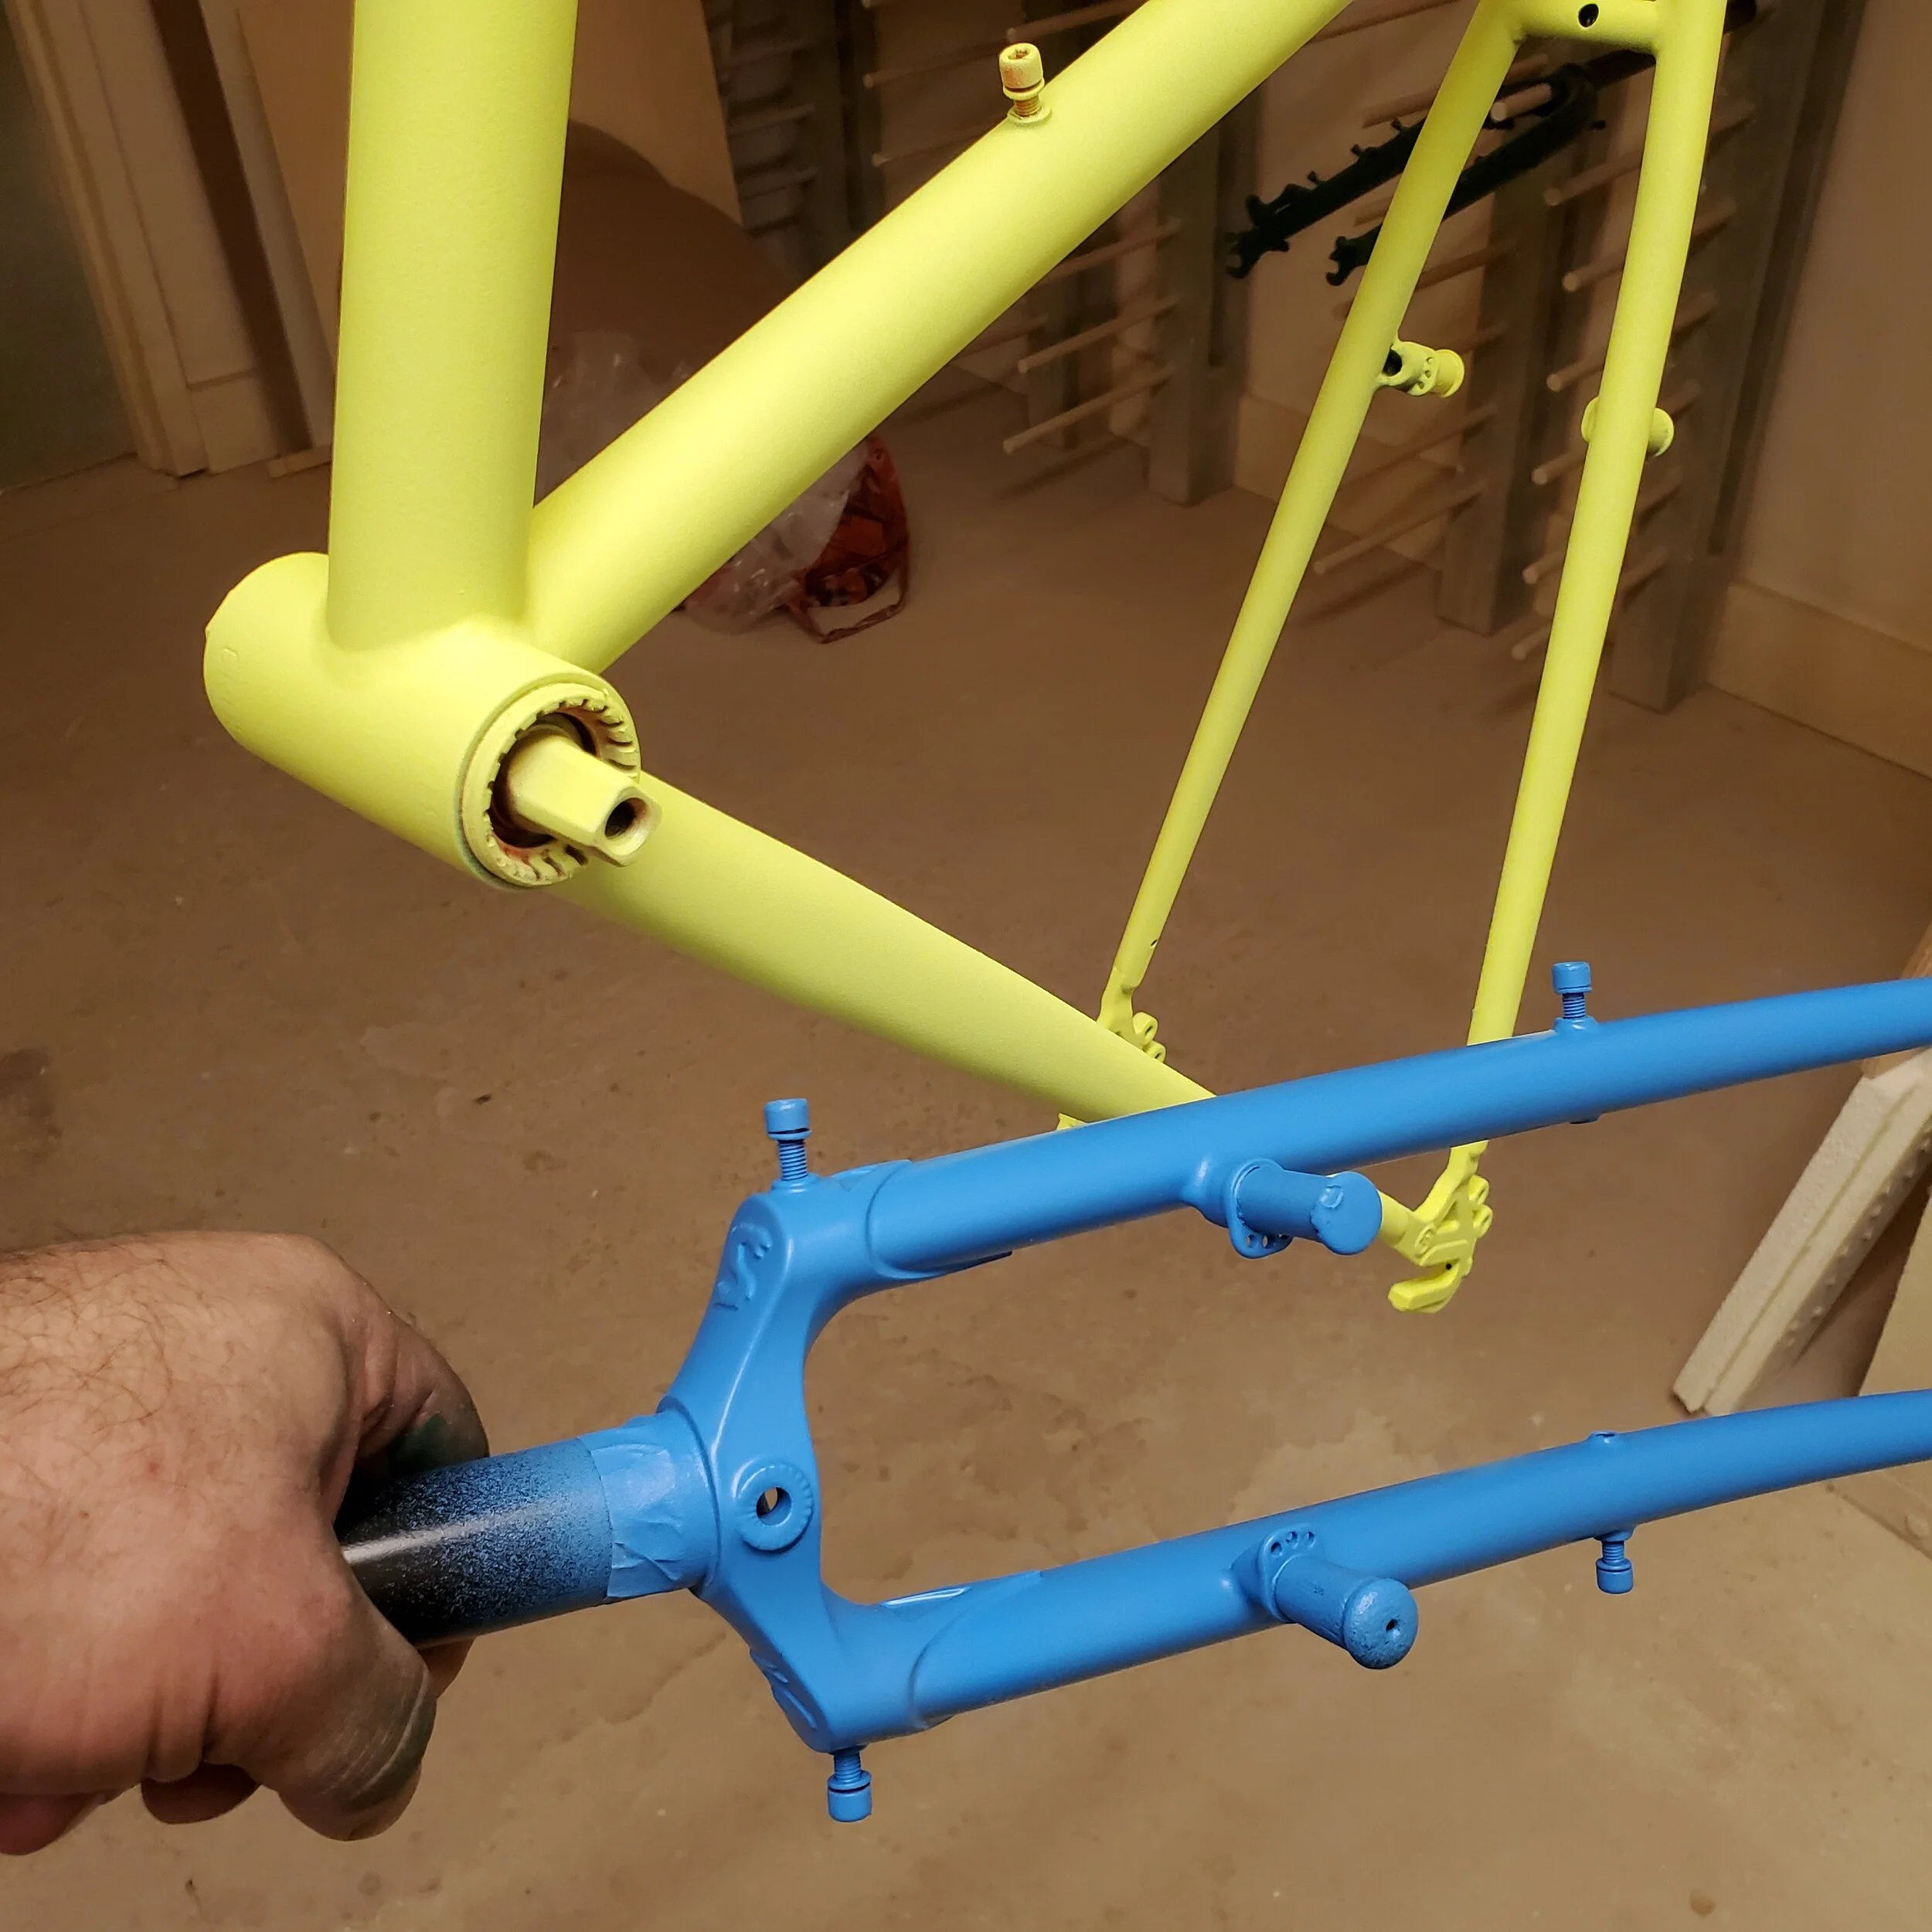
Night 1 involves laying down the paint. Spray,bike recommends shaking can for 3 minutes at start of use, so I set a timer on my phone and shake away. I know we are all anxious to paint, but I’ve got 3 hours or so invested in the process up to this point…what’s another 3 minutes? Note: the lighting at the paint booth really doesn’t convey that frame is fluorescent yellow…images at end of post are much more accurate,

The big thing on night 1 is that you really have to leave the frame fully painted when you are done. Spray.bike recommends NOT layering on a full second coat, so just make sure you get it the first time
At the end of Night 1, when everything is painted, I wait 20 minutes and then polish frame with a lint-free cloth. This compacts the paint, removes and eggshell texture and really smooths the surface out. This steps goes a long way in determining final finish quality. It’s also a great way to inspect paint coverage.

End of Nigh 1…frame now sits 24 hours before finish layer is applied. One trick I use to ensure full paint coverage is that I take frame out from fluorescent lights of the spray booth and inspect frame in different light (and with a flashlight). You can make touch up on Night 2 before clear coat if necessary.
Paint: Night 2

The first step on Night 2 is a final paint coverage inspection (as paint can still be added at this stage). Then, its decal work. No secrets here, but just take your time. Bike frames are hard to get things aligned and centered, so put decal sheet on lightly and step back for a look (that is what is going on with “Cross Check” decal here). I use that lint-free cloth to make sure those decals are on firmly.

It’s time for clear coat. Spray distance is important here as too close and you’ll get runs and drips. Its also important that decals are fully adhered and flush with surface. Getting clear coat under the decals is a real pain.

I then let frames hang in spray booth for another 24 hours and pick them up the next day.
Day 3: Frame Pick-Up

When i bring frame back to my shop, it hangs from my ceiling to cure for 1 week before building. I pick up frames 24 hours after clear coat is applied so that its less dangerous to the finish to move

Finished frame

Build In-Progress

Rolling Mock-up. SRAM Apex 1x11, Panaracer Gravelking 700x38 tires

Final Project

Final Project
Final Notes
I can’t stress how important it is to practice and test your process. When I was getting going with this, I would paint old forks and test their durability. I also left a few painted and built up bikes locked in front of my shop here in Brooklyn to test what may or may not cause chips.
I’ve heard the saying that its 3 hours prep time versus 1 hour paint, and I would agree with than. Take the time to read the instructions and set out a roadmap for a process (as opposed to reading the instructions on the fly (see Le Grill)
Day 1: Frame Prep
Night 1: Paint
Night 2: Decal and Finish Coat
Night 3: Pick up frames
Day 10: Build bike
Space things out and give it time. Doing this in a rush will not yield the best results. Check out our in-stock selection of paints and finishes here. I can’t stress show hard it is to be totally aware of these 4 things:
Shake can for FULL 3 minutes as instructions dictate, and spray first few seconds in another direction get the gunk out
Spray distance
Environmental Conditions (temperature and humidity)
Timing of polishing and coats/finish coats
Final bike images will be added to this post upon completion
Please note that we ae only painting new frames in conjunction with our 718 Shop Build program at this time